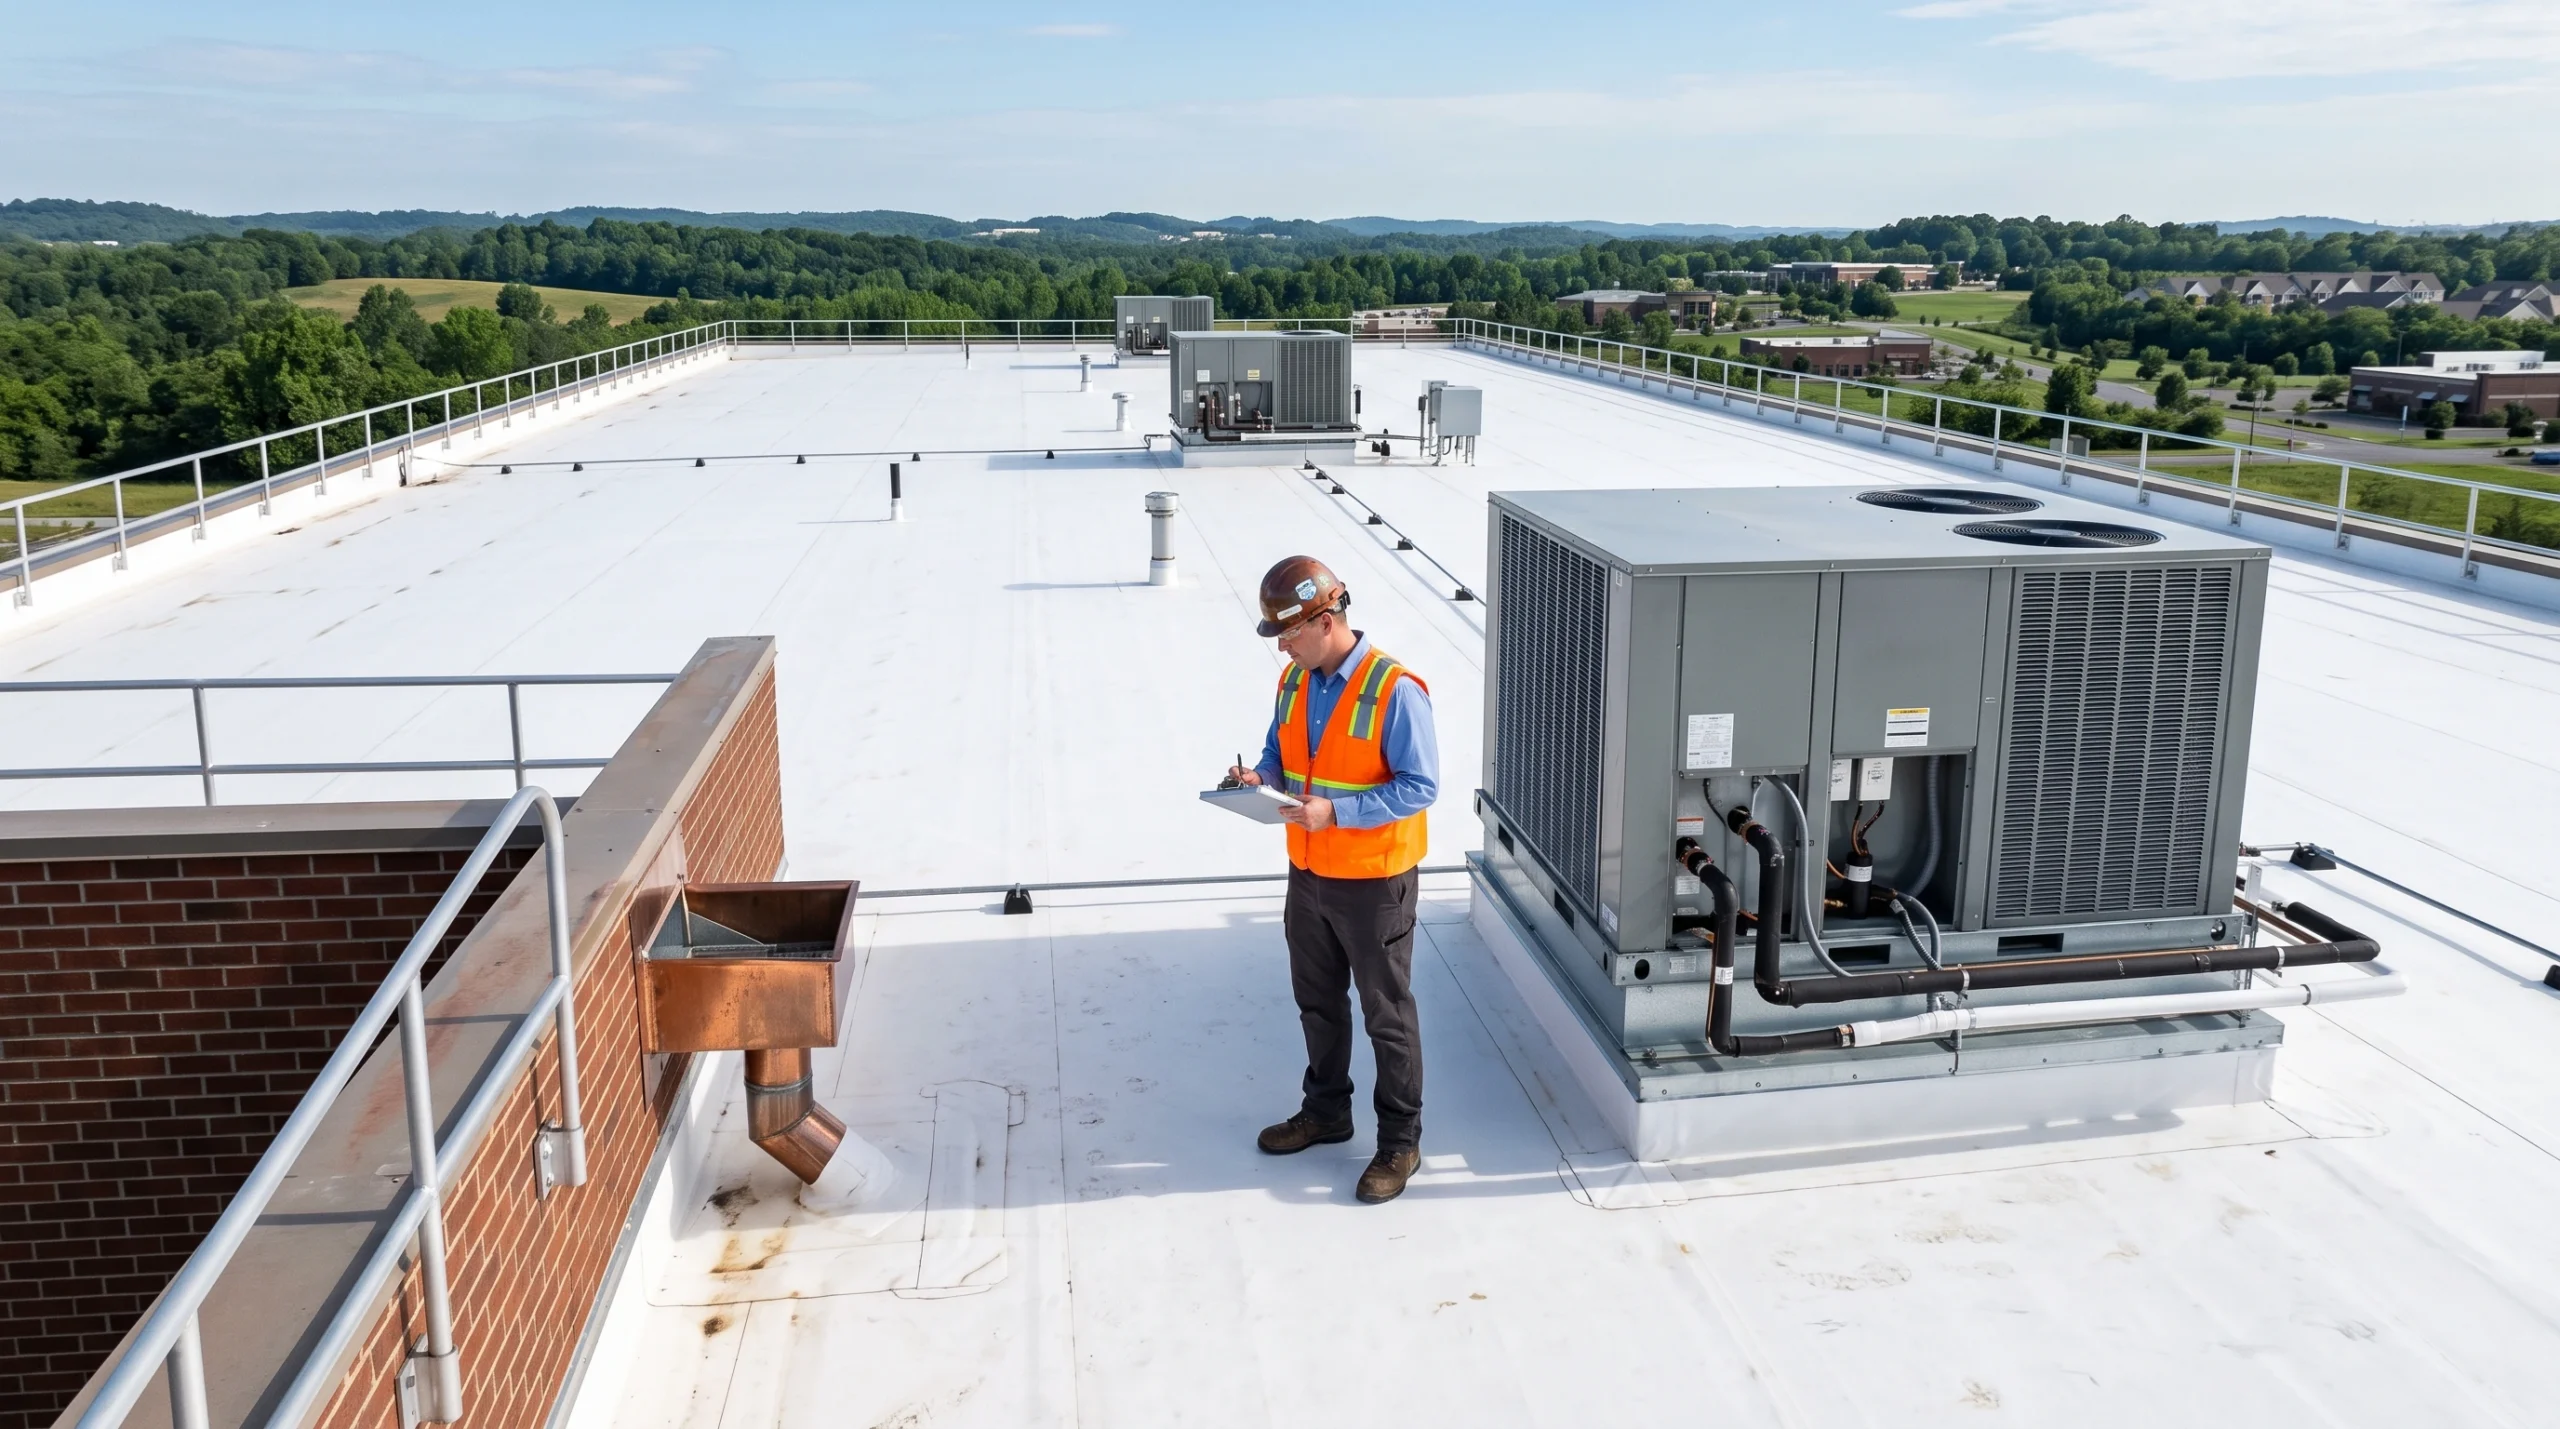
A commercial roof rarely fails all at once. Seams open, drains clog, and flashings crack long before water shows up in a suite below. If you manage a building in Middle Tennessee, a written commercial roof inspection checklist turns guesswork into a repeatable routine that protects tenants, inventory, and insurance documentation.
Quick answer
Walk the roof twice a year at minimum, and after major storms, with a checklist that covers membrane or panel condition, seams and flashings, drains and scuppers, penetrations, and interior stains. Photograph every defect, note the date, and assign repair priority before the next weather event. Pair your visual checks with a professional commercial roof inspection so hidden moisture and warranty issues are not missed. For help across Middle Tennessee, call Veteran Roofing Systems at (931) 225-9987.
Why commercial roofs need a different checklist
Residential shingles and commercial systems do not fail the same way. Many Middle Tennessee businesses use low slope commercial roofing with TPO, EPDM, PVC, modified bitumen, coatings, or metal. Water moves slowly. A clogged drain can pond for days. A failed pipe boot can soak insulation across a wide area before anyone sees a ceiling tile stain.
Property managers also face documentation needs that homeowners do not. Insurers, capital planners, and manufacturers may ask for dated photos and written findings. A consistent checklist makes those records easy to produce. The National Roofing Contractors Association publishes education for commercial systems because detailing and maintenance drive service life as much as the membrane brand.
How often to inspect in Middle Tennessee
Use this cadence unless your warranty or insurer requires more:
– Full checklist review in spring and fall
– Extra review after hail, high wind, or tornado warnings for your county
– Quick drain and debris check after heavy leaf drop in autumn
– Immediate review when tenants report stains, musty odors, or active drips
Federal readiness guidance for severe weather, including materials from Ready.gov severe weather, reminds operators that storms can arrive with little notice. A roof that was fine in March can collect damage in one May thunderstorm. Building science resources from FEMA Building Science also stress moisture control and resilient detailing after extreme events.
Safety rules before you step on the roof
Never treat a commercial roof walk as casual. Confirm fall protection requirements with your safety officer. Stay away from unprotected edges, skylights without screens, and wet membranes. If the roof is steep, heavily ballasted, or hard to access, hire a licensed crew instead of sending office staff. The OSHA fall protection overview outlines why untrained access creates liability.
Ground level checks still help. Scan parapets, rooftop unit curbs visible from higher windows, and exterior wall stains. Interior rounds catch issues early even when you postpone a full roof walk.
The core commercial roof inspection checklist
Print this section or copy it into your CMMS. Mark Pass, Watch, or Fail for each item and attach photos.
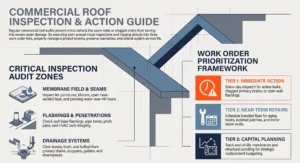
1. Membrane or panel field
– Look for punctures, blisters, open seams, shrinkage, or exposed fasteners on membrane roofs
– On metal, look for lifted panels, failed seams, rust at cuts, and missing fasteners or clips
– Note areas of ponding that remain more than 48 hours after rain
– Flag traffic damage near rooftop units and walk paths without pavers
For system context on low slope options, see the site guide to commercial flat roofing systems.
2. Seams and laps
– Check heat welded or adhered seams for fishmouths, voids, and bridging
– On EPDM, inspect seam tapes and primers for lift
– On metal, inspect standing seams or lap fasteners for consistency
– Photograph any repair patches and note whether they look temporary
3. Flashings at walls, curbs, and edges
– Inspect base flashings at parapets and adjoining walls
– Check counterflashing for secure embedment or termination bars
– Review metal edge details and coping joints
– Look for open corners where two flashings meet
Failed flashings are a top leak source on commercial buildings and often start small.
4. Penetrations and rooftop equipment
– Pipe boots, pitch pans, and sealed pockets should be intact and filled correctly
– HVAC curb flashings should be tight, with no compressed insulation gap
– Satellite mounts, conduit stands, and sleepers should not trap debris or tear the membrane
– Disconnects and gas lines should not chafe the roof surface
When equipment work happens, require a post work roof check. Many leaks begin after a contractor leaves a curb unsealed.
5. Drainage: drains, scuppers, gutters, and leaders
– Clear leaves, ballast, and trash from drains and scuppers
– Confirm clamp rings and strainers are present
– Check overflow scuppers for clear openings
– On buildings with gutters, verify attachment and free flow at downspouts
Ponding near a clogged drain can overload seams and insulation. Treat drainage failures as urgent even when the membrane still looks intact.
6. Insulation and wet spots (what you can detect)
– Soft or spongy feel underfoot can signal wet insulation
– Dark rounded stains on the underside of a metal deck may show saturation
– Musty odors in top floor rooms deserve attic or plenum follow up when accessible
Infrared or moisture meter surveys belong to trained inspectors. Your checklist flags suspects; professionals confirm them.
7. Coatings and prior repairs
If the roof has a coating, look for peeling, alligatoring, or bare membrane showing through. Review whether prior repairs used compatible materials. Mixing products without a plan can void warranties and create new failure lines. Coatings can extend service life when applied to a suitable substrate, but they are not a substitute for fixing open flashings first.
8. Interior correlation points
Match rooftop findings to the rooms below:
– Ceiling stains and warped tiles
– Damp insulation in accessible plenums
– Rust on deck flutes
– Tenant tickets mentioning drips after rain only
A stain that grows after every storm is an active leak path. A stain that never changes may be historic, but still document it.
TPO, EPDM, PVC, and metal: what changes on the checklist
Use the same eight categories above, then add system specific notes.
TPO and PVC: Watch heat welded seams, shrinkage at flashings, and plasticizer related brittleness on older sheets. Confirm that walk pads sit where technicians actually walk. Learn more about commercial TPO roofing when you are planning upgrades.
EPDM: Focus on seam tapes, lap edges, and fastener plates on mechanically attached systems. Look for surface crazing on older black rubber.
Metal: Confirm clip or fastener patterns, sealant at endlaps when required, and condition of gutters tied to the panels. Standing water against unfinished cuts accelerates corrosion.
Coatings over existing roofs: Confirm adhesion and that drains were detailed through the coating, not painted shut.
After a storm: rapid checklist add ons
Add these items within 24 to 48 hours when weather allows safe access:
– Count and photograph missing or torn membrane sections
– Check for displaced ballast or pavers
– Inspect rooftop unit cabinets for impact and water intrusion
– Look for new interior drips and isolate electrical areas if water is near panels
– Document conditions for insurance with timestamps
If the building is taking on water, call for emergency commercial roof repair and temporary protection before you finish a perfect report. Life safety and business continuity come first. For claim related storms on residential portfolios you also manage, the site roof insurance claim guide explains documentation habits that transfer well to commercial files.
How to turn checklist findings into a work order
Sort each Fail item into one of three buckets:
- Immediate: Active leaks, clogged primary drains, open flashings at walls, unsafe soft deck areas
- Near term: Isolated patches, aging boots, minor seam voids, coating thin spots
- Plan: End of life membrane, recurring ponding that needs tapered insulation or redesign, recurring equipment curb failures
Send Immediate items to a licensed commercial contractor the same day. Bundle Near term items into a scheduled repair visit. Bring Plan items into capital budgeting with photos and square footage notes.
Avoid endless temporary patches on a roof that needs replacement. A clear inspection trail helps ownership see when repair spend stops making sense.
What a professional inspection should add
Your staff checklist catches visible issues. A professional commercial roof inspection should add:
– Trained review of manufacturer details and warranty status
– Moisture survey when wet insulation is suspected
– High resolution photo report keyed to a roof plan
– Clear repair versus replacement recommendation with priorities
– Coordination notes for insurance or board packets
Veteran Roofing Systems inspects TPO, EPDM, PVC, modified bitumen, built up, coating, and standing seam systems across Middle Tennessee. The goal is an honest condition picture, not a pressure pitch.
Reflective membranes and cool roof strategies can reduce heat load on some buildings. The EPA cool roofs overview explains the energy idea. Local detailing and drainage still decide whether that membrane lasts.
Sample one page field form
Copy these lines into a simple form for each visit:
– Property name and address
– Roof type and approximate age
– Weather and date
– Inspector name
– Drain condition summary
– Membrane or panel field summary
– Flashing and penetration summary
– Interior correlation notes
– Photo count and file location
– Immediate actions and owner notified (yes or no)
Consistency beats perfect prose. Boards and insurers trust dated, repeatable notes.
Call to action
If you need a professional commercial roof inspection checklist review completed on site, contact Veteran Roofing Systems. Call (931) 225-9987 or request service through the contact page. Serving property managers and owners in Columbia, Franklin, Brentwood, Spring Hill, Nashville area commercial corridors, and surrounding Middle Tennessee communities, the team documents conditions clearly and helps you prioritize repairs before the next storm.
Frequently Asked Questions
Q: How often should a commercial roof be inspected in Tennessee?
A: Most property managers should complete a structured inspection at least twice a year, ideally in spring and fall, plus after major storms. Warranties and insurance policies may require documented visits. High traffic roofs or older membranes may need quarterly looks at drains and flashings.
Q: What belongs on a commercial roof inspection checklist?
A: At minimum include membrane or panel condition, seams, wall and curb flashings, penetrations, drains and scuppers, coatings or prior repairs, and interior stain correlation. Add system specific notes for TPO, EPDM, PVC, or metal. Photograph every Fail item with the date.
Q: Can property staff complete inspections without a contractor?
A: Staff can complete visual checks for debris, obvious open flashings, and interior stains when access is safe. Hidden moisture, warranty compliance, and complex seam failures need a licensed commercial roofing contractor. Use staff checks to catch urgent issues between professional visits.
Q: How long does a professional commercial roof inspection take?
A: Many buildings take one to three hours depending on size, roof complexity, and number of penetrations. Larger campuses take longer. Ask for a written photo report rather than a verbal summary alone.
Q: What should I do if the checklist finds ponding water?
A: Clear drains and scuppers first if it is safe to do so. Photograph the area after the next rain. Persistent ponding beyond about 48 hours often needs a professional evaluation of slope, insulation, and drain placement. Do not ignore ponding because the membrane still looks intact.
Q: Does a commercial roof inspection help with insurance claims?
A: Yes. Dated photos and written notes from before and after a storm help show what changed. Professional reports with roof plans and prioritized defects strengthen claim files and capital requests. Keep copies in a shared property folder.
Q: Who provides commercial roof inspections in Middle Tennessee?
A: Choose a licensed, insured contractor experienced with commercial systems, not only residential shingles. Veteran Roofing Systems provides commercial roof inspections and related repair services for property managers across Middle Tennessee and can respond when emergency leaks appear.

What To Do If You Hear Loud Noise In Your Attic
Hearing a loud noise in your attic can be alarming for any homeowner. Homes in Middle Tennessee, from Columbia and […]
Read More… from What To Do If You Hear Loud Noise In Your Attic

Roofing Trends 2027 in Columbia, TN: What Homeowners Should Know
Staying current on roofing trends 2027 Columbia TN homeowners are starting to ask about can help you make smarter decisions […]
Read More… from Roofing Trends 2027 in Columbia, TN: What Homeowners Should Know
Beyond the Leak: The Hidden Signs You Need a Storm Damage Roof Replacement
Most homeowners only think about their roof when water starts dripping through the ceiling. By then, the real problem has […]
Read More… from Beyond the Leak: The Hidden Signs You Need a Storm Damage Roof Replacement